
This article will explain step by step process to create express entry profile for a Canadian immigration process. It is one of the challenging parts for those who are seeking Canadian immigration.
There are four steps involving in creating your express entry profile. These are explained below:
- Gather right documents
- Create MYCIC account
- Completing express entry profile form
- Creating and linking job bank profile
Before moving on to create an express entry profile, we highly recommend you read the above two information about steps for Canadian immigration and how to check your eligibility to apply to Canada.
As soon as you complete your eligibility check, you can start to create your express entry profile.
Steps to Create Express Entry Profile
Step 1) Gather Your Documents & Info
Before you start to create express entry profile from Citizenship and Immigration Canada [CIC] website, make sure that you have all language test information, National Occupation Classification code of your job experience.
If you do not know your NOC code yet, find your National Occupation Code(NOC).
At the same time, you have to complete your education credential assessment.
The complete list of the information that you should gather before proceed to create express entry profile are passport or applicable travel document, National Occupational Classification position title and code, results of language test, educational credential assessment finding (if one was obtained), copy of written employment offer from Canada-based employer, a copy of your provincial nomination or certificate (if you received one), and your Come to Canada site personal reference code (if you have one).
Step 2) Create MYCIC Account
To create an MYCIC account, please visit — step by step process to create an MYCIC account. This article will explain to you all about the MYCIC account.
Step 3) Complete Express Entry Profile Form
Log in to the MYCIC account that you created just now.
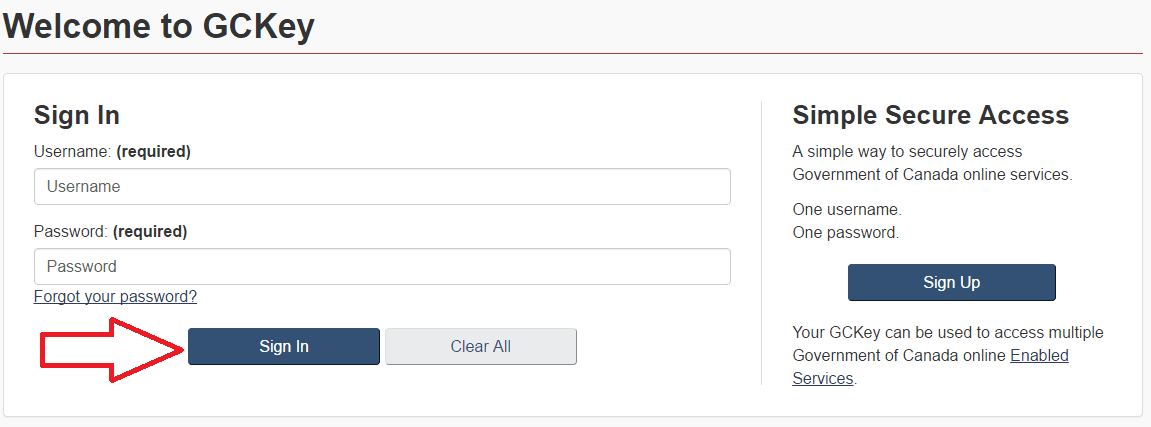
After you sign in, your MYCIC account you will see a tab that indicates you to create your Express Entry profile (highlighted in the image below).
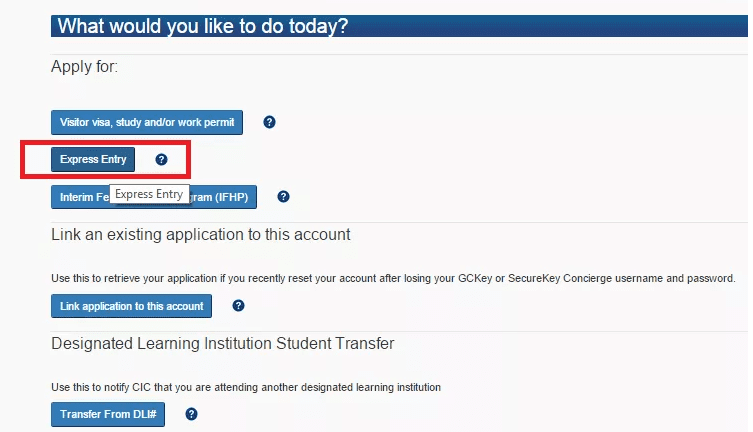
Go through the option of Express Entry as in the above image.
Fill out the following information.
- Your reference code from the Come to Canada tool.
- Name
- Gender
- DOB
- Country
- City of birth
- Marital status
- ID docs
- Number of family members and settlement funds amount
- Education history
- Your language test results
- Your Education Credential Assessment results.
- Your work history details and corresponding National Occupational Classification or NOC codes
- Your passport or travel document.
- If you have a Provincial nomination, then details of nomination.
- If you have LMIA approved Job offer, then details of your job offer.
- Your choice(s) of the province
- Your representative (if any)
Once you complete, hit the “Submit” button.
Step 4) Create and Link Job Bank Profile
You must register with a job bank within 30 days after completing your express entry profile. After you register with the job bank, you have to link it with your express entry profile. After linking, only your express entry profile will be active and placed in the express entry pool.
Disclaimer
All info on this website is general and should not be considered legal advice.